There are many options that businesses consider before buying sinks. These businesses are interacting with customers directly. For this reason, they are more aware of the market needs and want to fulfill them.
One way of fulfilling market needs is to offer the customers many options. The business will here look at the making of different sinks that they plan on selling. One of these sinks is the stainless steel sinks.
Stainless steel sinks are very durable. This is why homeowners prefer them over other types of sinks. Businesses also prefer them over other sinks because they are easier to sell.
Stainless steel sinks are of two types: One is the drawn stainless steel sink, and the other is the handmade stainless steel sink. Both have their benefits and downsides, so make your choice carefully according to the market you’re targeting.
Manufacturing A Drawn Stainless Steel Sink
In this article, we focus on the manufacturing process of the drawn stainless steel sink.
Raw Materials
Well, the first step in the manufacturing process is selecting the raw materials.
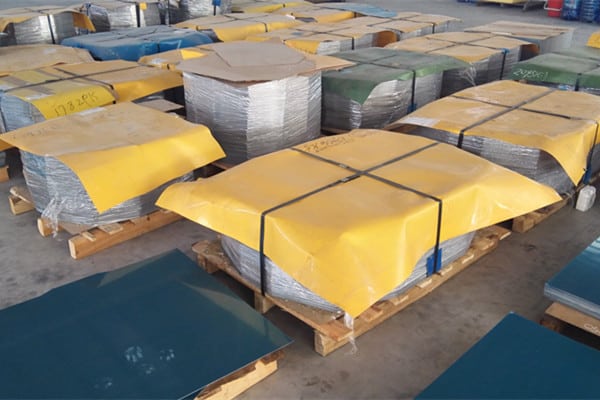
The steel used in a sink usually measures between 0.8mm to 1.5mm. Usually, a factory purchases different lengths and widths to accommodate everyone’s needs.
You then transport the stainless steel to a workshop in the form of a roll.
Material Lamination
Then comes the lamination process. You can potentially damage the material during stretching. To avoid this damage, the manufacturer coats the steel plate at the start of the process.
However, you only coat one side of the steel sheet as the other will have to face mold in the stretching process.
Cutting The Material
After that, there is the cutting process.
The manufacturer cuts the long steel plate into different sizes. You pass the steel sheet through a roller compaction zone along with the protective film. This completes the process of the coating as well.
After that, the worker passes the steel sheet through a guillotine blade. This cuts it into the appropriate sizes required.
Angle Cutting Of The Material
After that comes the material angle cutting process. This involves molding the sheet to conform to a sink’s appearance.
Applying Oil
Then, you apply stretch oil evenly on both sides of the sheet. This helps in reducing the chance of stretch cracking and will extend the life of the steel.
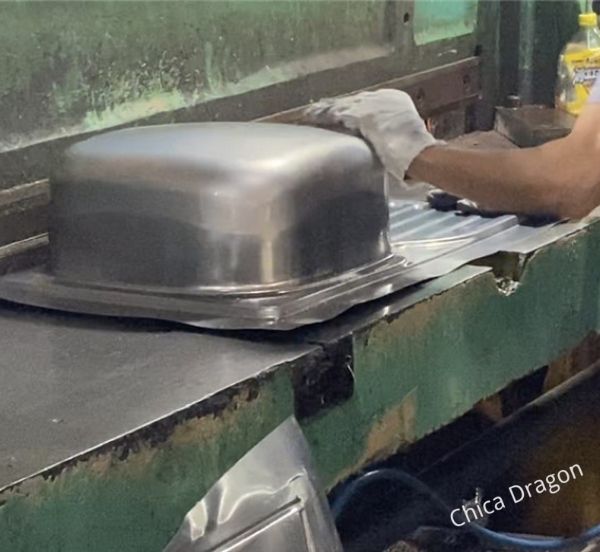
First Drawing
From there on, the manufacturer places the steel in a press table. It would be best if you located the product mold between the upper and lower holes on the workbench plates.
Then you are to switch the motor on. This lowers the upper plate of the hydraulic press, which pushes the entire table down.
During this process, the horizontal position remains the same. For this reason, the steel plate has no choice but to go upwards to complete the form stretching.
Cleaning
The manufacturer is now going to send this sink to a cleaning site to remove the coating. In addition to that, the remaining drawing oil is also washed. This prepares the steel sheet for the annealing process.
Annealing
The annealing process is there to meet the depth requirements. Some manufacturers also prefer a secondary drawing.
If the water container’s depth is around 160mm, you can achieve it with a single drawing. However, if the depth reaches about 180mm, you need a second drawing. This is because there is a higher chance of the stainless steel sheet cracking.
This is where annealing comes in handy. Annealing restores the activity of damaged stainless steel plates. You can either use a line or a furnace for this process.
Annealing Line
The annealing line is a 20 meters long high-temperature line, usually around 1100 degrees. On the line, there are two entrances and two exits.
A cable car or a conveyor belt transports the sink through the annealing line. You can anneal around 25 sinks at the same time.
Also, stainless steel generates some magnetic properties due to the stretching. To eliminate these, you can use degaussing.
Some people also use a furnace for the annealing process instead of a line.
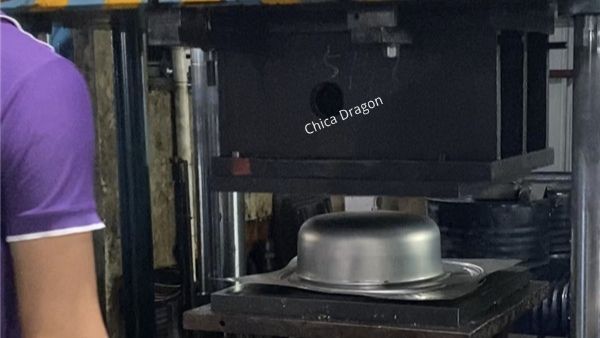
Second Drawing
After that, the manufacturer passes the sink through a hydraulic press. This second drawing needs to be more accurate and fully drawn to the depth of the design.
Cutting The Edges
Then it would be best if you trimmed the edges of the sink according to the product design. Keep in mind to reserve the installation position of the sink as well.
The Punching Process
Then comes the punching process. The manufacturer punches overflow and drains holes on the punches. You do this on each section of the plate. The punching equipment may not be in optimal condition and may not punch all the plates if you do them together.
Whether it is a single bowl sink or a double bowl sink, it is formed at one time by the punching machine.
Ignore the next steps if you choose a double-bowl sink.
Welding
If you’re going for a two-slot bowl-weld basin, you must weld it to the sink’s upper plate after punching it. You use CNC welding for this process.
If you’re manufacturing a butt welding sink, you must butt-weld both sides of the sink. However, a butt-welding sink is pretty rare, and not many people go for it.
Spot Welding
(Omit if you choose a double-bowl mold.)
The next step is to spot weld to reinforce the ribs.
It would be best if you used a laser welder to spot weld the ribs. Each spot welding procedure produces around three solder joints. You should do the welding several times at different locations. Sometimes, the manufacturer uses reinforced ribs for this process.
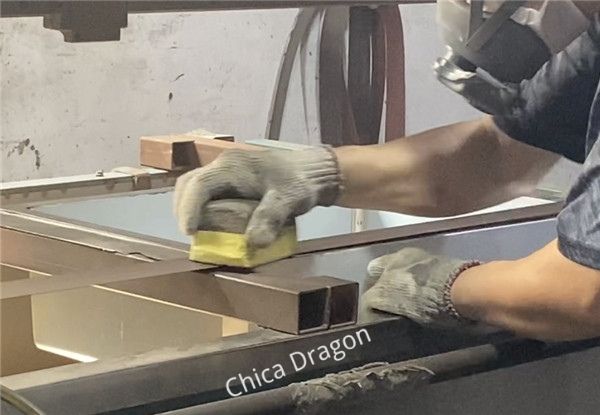
Polishing
Then, the manufacturer treats the surface of the sink with polishing.
Sink Bottom
First, you polish the sink’s bottom and then move onto all the other different parts of the sink.
Sink Wall
Then you polish the sink wall. After that, if your design isn’t a double-bowl mold, you shine the sink’s joint part.
Using Abrasive Wheels
You should also use an abrasive wheel to polish the different lines that appear due to the brushes.
Upper Plate
After that, you must polish the upper plate of the sink. You do this to eliminate the weld lines and the surface flaws visible on the surface of the sink.
Punching The Holes
Then comes the punching of the faucet holes. You are to excavate the tap hole according to the position requirements of your sink order. You can perform this step at any point while manufacturing the sink.
Branding The Sink
Following that, you are to brand the sink by stamping a logo on it. You can do the stamping either by the laser method or by the stencil method.
Personally, I would say that the laser method is better since it is fully automated, so there is a low chance of error.
Also, there are plenty of low-cost laser markings available. The laser passes straight through the light-transmissive part of the film. This burns the logo right onto the stainless steel.
Repairing The Sink
Keep in mind that sometimes small repairs are necessary to the sink. This is from the minor damages that the sink withstands in the manufacturing process.
The manufacturer sends the sink to a repair site to increase its appearance and value.
Spray Paint Treatment
The final step before packaging is spray paint treatment. The spraying has numerous advantages. It makes the sink gain some weight. On top of that, it also covers the marks caused by the annealing process. Also, it prevents condensation on the sink surface in the kitchen.
However, the current sprays that manufacturers use do not have an anti-condensation function.
Pickling
Another alternative to spraying is pickling. Pickling can also remove the burn spots on the sheet due to annealing.
The Cleaning Process
Then comes the cleaning process. The worker removes the stretch oil from the stainless steel sheet. The debris and dirt from the different manufacturing processes are also removed.
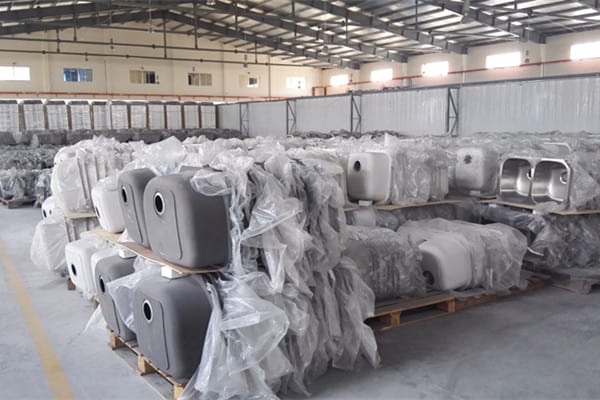
The sink is then ready for packaging and selling.
FILL IN THIS FORM TO REQUEST A QUICK QUOTE FROM CHICA DRAGON
FAQs
Are There Different Types Of Stainless Steel Sinks?
Stainless steel sinks are available in ranges from 16 gauge to 22 gauge. The 16 gauge is thicker and is more resistant to dents. These sinks also insulate the sound of water splashing.
What Is The Easiest Sink To Clean?
Stainless steel sinks are very easy to keep spotless. The steel is non-porous, which means that the stains and food debris cannot stick onto it. They are usually used in hospitals as well because they are very easy to sterilize.
How Long Do Stainless Steel Sinks Last?
Stainless steel sinks usually have a long lifespan. They can last from 15 to 25 years. But, other alternatives like porcelain and iron core sinks can last even longer. You can usually refinish them to last as long as your home.
Can You Get Scratches Out Of A Stainless Steel Sink?
You can use cleaners such as Revere Stainless Steel or Comet to remove the scratches. Polish is also available, which can conceal these scratches. This makes these sinks more attractive for the customers.
Finally
Stainless steel sinks are very durable and easy to operate. However, keep in mind that these sinks are slowly going out of fashion.
There are better alternatives present which customers prefer over these.
Keep in mind the market you’re targeting and their needs.
Good luck!